Holiday Buggy build
Tags: rc tamiya holiday-buggy dt02
Other than helping out some adults (by holding tools) as a kid, I haven’t built an R/C kit before. I can build a Mini 4WD! How much harder could a Tamiya Holiday Buggy be? It turns out, not much harder. Except for the stickers.
When I was in Tokyo, I somehow ended up with some additional free checked baggage capacity, and I decided the best way to take advantage of that would be to go get another RC car. Yeah, another. I had already picked up a Blitzer Beetle on the same trip. You’ll see that one later.
This kit came from the Tamiya Plamodel Store in Shimbashi. I paid more than I would have on Amazon JP, but that’s alright. I also got some bearings while I was there; it’s all 1150s, as verified by one of the staff members who opened the box and checked the manual to make sure.
Why the Holiday Buggy? Well, it’s cheaper, but the primary reason is that the new post-2010 Holiday Buggy is based on the DT-02 chassis. There’s lots of parts available, and it’s got a good reputation for durability. It will be the perfect learning vehicle for the kiddo; the box even says so.
Shopping List
Why are these cars so cheap? In most configurations, Tamiya just sells you the mechanical parts of the kit. I would need to add:
- a speed controller;
- a battery;
- a radio receiver;
- and a steering servo.
In case you don’t know what these are, I learned what all of these parts do way back when I was retrofitting a new speed controller into my toy-grade Radio Shack Beetle. I need to get back to that project too!
The MG996R steering servo and 1060 clone speed controller came from AliExpress, and were originally destined for a different project. Turns out they fit just fine, and I’m happy as long as they work.
Assembly
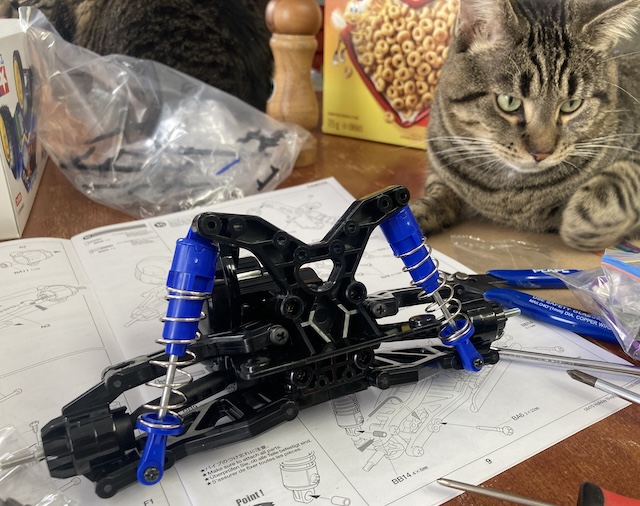
A big help to me was getting the proper Tamiya screwdrivers. I’m not new to JIS screwdrivers by any means, but the ones I had that were the proper size for these screws were also too big to go into the holes in e.g. the transmission case. After splashing out for some Tamiya R/C drivers, everything went super easy.
I found adjusting the plastic steering turnbuckles to be pretty annoying. I think I might try to find if there’s a part that can be adjusted on the car.
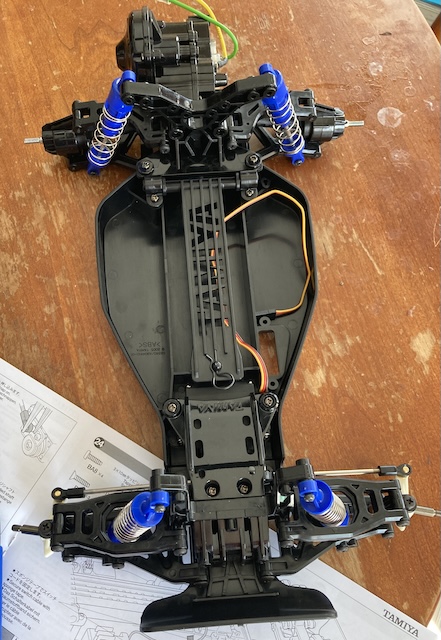
Electronics
Right away, I ran into a problem. The power switch on the 1060 clone I was using didn’t fit into the pan brackets provided by Tamiya. This was a big surprise to me, as I thought Tamiya had been shipping the 1060 packaged with some of their RC cars!
Luckily, I found a Thingiverse project that consisted of a 1060-to-Tamiya power switch adapter bracket. Still not having a printer, I told JLCPCB to make five of them, which cost just over $3 CAD shipped in total.
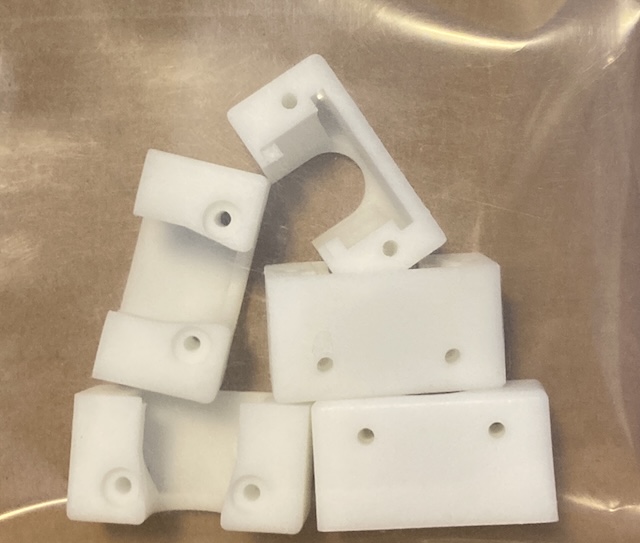
Unfortunately, this adapter did not fit whatever switch my clone 1060 was using. From the comments, it seems like there are at least three kinds of switches being used by 1060s. I thought about chopping the end off this one and soldering in a new switch, but I decided it would be easier to just design my own adapter bracket instead. Stay tuned for that!
For a battery, I went to my local store and asked them for a battery. They sold me a soft-cased GENS ACE 2200mAh lipo.
Mounting the battery was something that gave me a bit of anxiety. Like most lipo batteries for RC cars, this one is a “soft case” – it’s just the loose pouch cells wrapped together in some heat shrink. Bouncing around inside the car would be a really bad idea, and if anything were to substantially bend or impact the battery, we’d probably have a fire on our hands.
I ended up wrapping the battery compartment on the Holiday Buggy pan with soft “Frost King” 5/16” foam tape, and then smushing the lipo between layers of that foam tape to immobilize it.
My first fire-up had a bit of a surprise: the car tried to drive itself right off the kitchen table! I hadn’t even bound the receiver yet, so I guess the auto-braking did it. After that, I made sure to only turn the car on when it was off the ground: I used some cat food tins for axle stands.
Once everything was bound and trimmed, I did a celebratory low-speed figure-eight around my house. The cat hated it. He’ll come around.
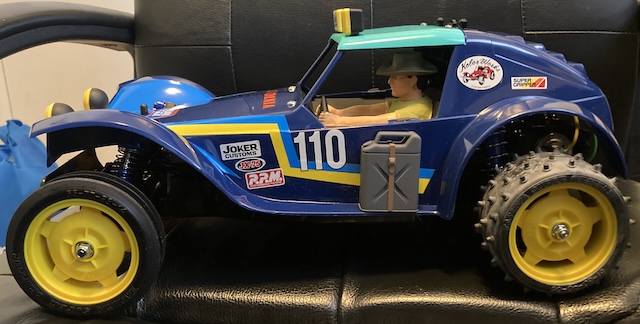
Paint and stickers
There’s thankfully not much to paint on this model, otherwise I would have been in paint paralysis mode. The body actually can’t be painted, since it’s made out of polyethlyene “milk jug” material. You’d have to use a flex additive and real catalyzed paint, like on a 90s car bumper.
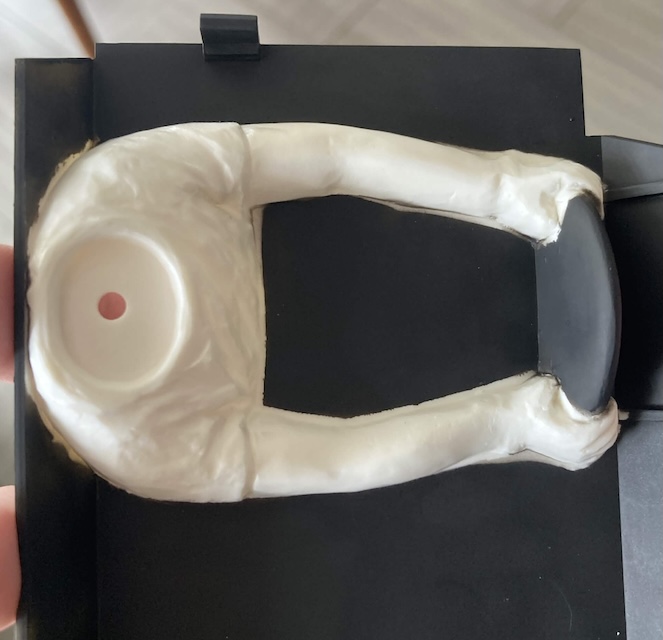
My initial strategy was to paint dark to light: do the cockpit in flat black, the driver’s arms in “flat flesh,” and the driver’s shirt in whatever ridiculous colour I had loaded in the airbrush for another kit.

One thing that did need to be painted was the driver figure. I’d never masked this much before; I was strictly a “one racing stripe” kind of painter. I got some 6mm Tamiya tape and did my best with an Olfa craft knife.
I am still really inexperienced with model painting in general. I was thankful that any mistakes I made here would be mostly hidden in the cabin and maybe even get obliterated in a huge wreck, if I’m lucky.
I forgot to wash this to remove any mould release and finger oils before masking it; I will be way better at doing this in the future. I also had trouble sticking to a consistent paint pattern, which is why you see a bit of the tiger-striping and lighter areas here.
Although I erred on the side of overmasking, I think the driver came out pretty unharmed. I resolved to develop basic skills at brush painting so I could clean this up.
My favourite local hobby store was out of flat flesh in everything but little enamel bottles. I decided to make use of the X-20 enamel thinner I had bought by mistake on a previous visit and brush it on.
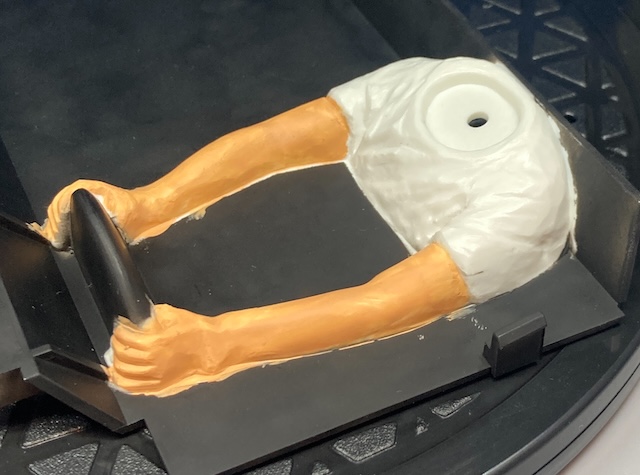
I should probably have done more for masking (I smacked the dashboard at one point while trying to get a finger) but it looked fine from a distance. To clean the brush, I picked up “The Masters” brush cleaner, which comes as a kind of hard brick of soap. It took me a really long time to figure out how to get it into a soapy-water form, but it seems to have cleaned and not ruined my brand new brush.
Good enough for now; let’s move on to the t-shirt.
In retrospect, it would have been way easier to paint light to dark in this case. Get all the skin done, then mask the arms, spray the shirt, mask the entire driver, and then spray the background. Flat black would easily cover up any errant colour in this scenario and it’d go much faster with way fewer missed spots.
I made a complete hash of trying to draw eye-whites and pupils on the driver’s face using super thick Testors paint markers, so I’m not going to show that. Let’s just pretend it’s hidden by the hat at all times. Rest assured I am ashamed and will clearly have to buy some “bystander figure” model kits to practice on in the future. Gundam markers for me from now on.
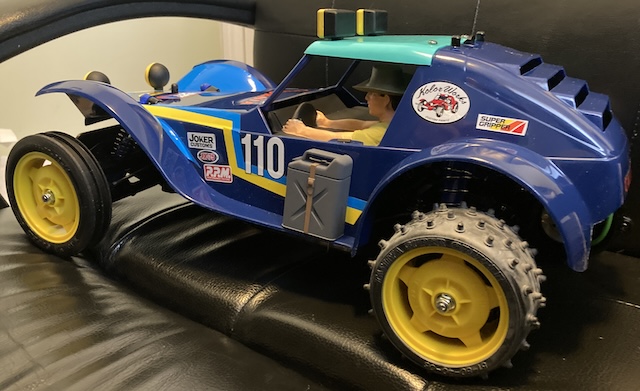
The roof was relatively simple to spray out; I used some Dspiae pre-thinned teal and just went to town. Since I’m still having trouble keeping consistent distance from the panel, and the fan on this brush is so tiny, I ended up having a bit of tiger striping. I would do way better if I repainted it now. You can’t really see it, and again, this thing is gonna be rolled.
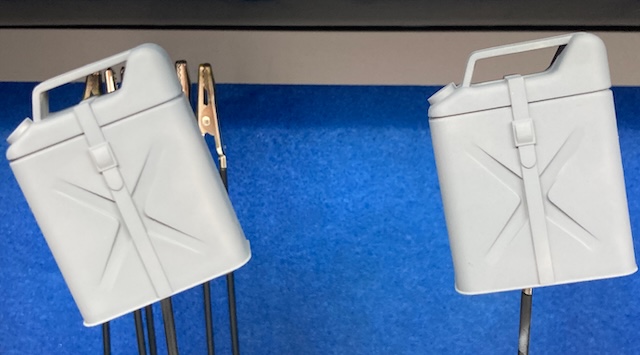
The gas cans did come out great (the first time.) I did those in Tamiya XF-24 “Dark Grey,” which didn’t actually look that dark when it dried. Turns out the LED lighting in the booth is a little bit deceptive.
I used Mr. Hobby Levelling Thinner again at a 1:1.5 ratio, which seems to soak up a lot of my incompetence. It laid out super smooth. I have a lot more success painting tiny stuff than big stuff; clearly I should work harder at paneling big stuff and taking my time.
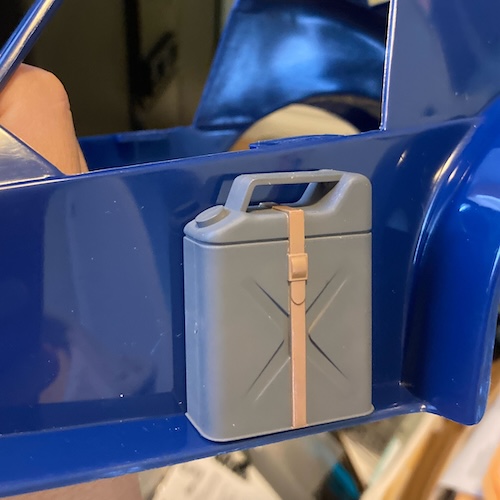
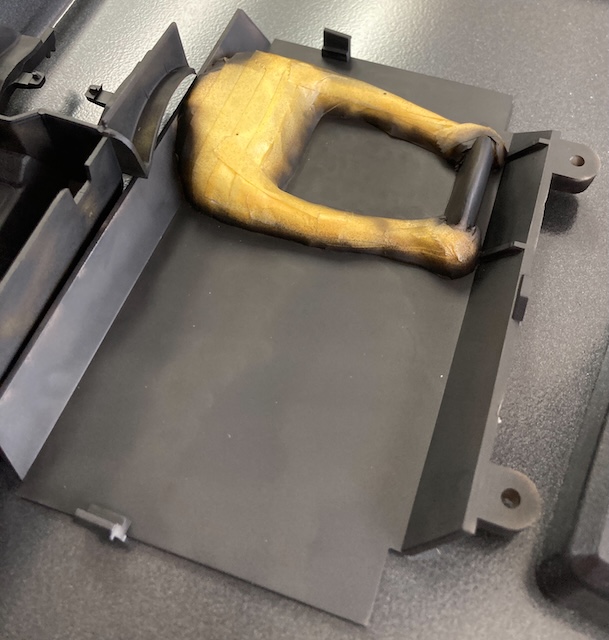
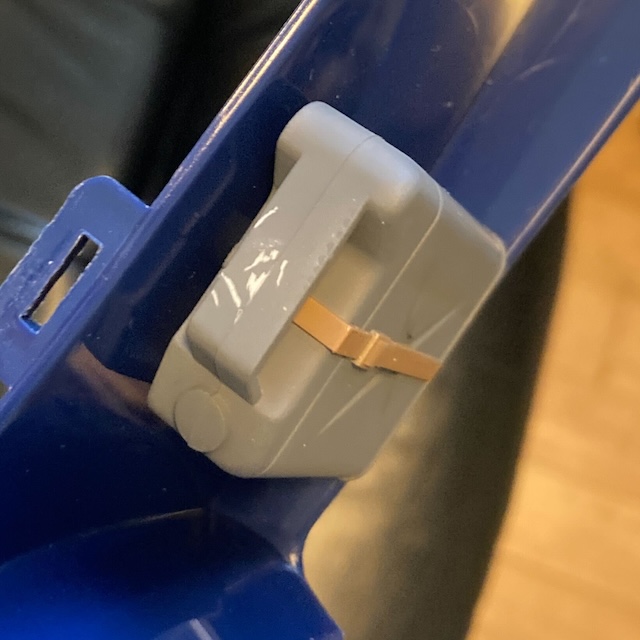
It’s really time-consuming to mask all the way around the handle, just so that you can spray the bit of belt that sticks under it!
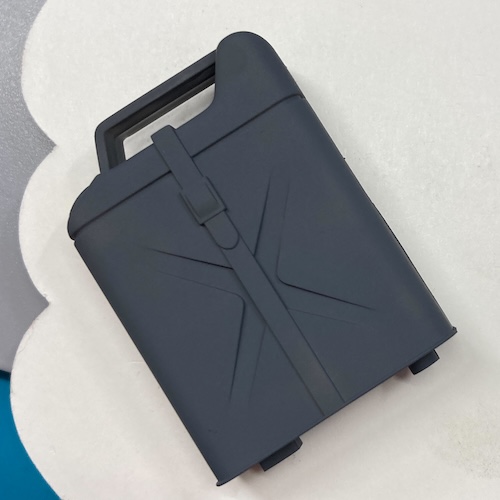
Things started to get worse from here. That dark grey Tamiya paint did seem to scratch off easily when I accidentally hit it with my fingernail, so I need to do some more sanding before the first coat of this paint (I did wash these cans at least, unlike the driver.) Luckily, that section was covered when I painted the “belt” holding it on, but I scratched a lot more of it while removing the tape.
Ultimately, I solved this problem by roughly respraying the damaged parts (I’m glad it levels so well!) and then spraying some matte top coat over it. I hope this will hold up long-term, but I guess you’ll find out if there’s a future article called “I rolled my Holiday Buggy within five minutes and now we have to repaint everything.”
Cutting the stickers out of the sticker sheet and mounting them was very nerve-wracking, especially the super long hood stripes. I made a little mistake at the very front, which I tactically covered up with one of the leftover stickers on the sheet. As you do with this kind of thing, all I can see are flaws.
Finally, it was time to paint the driver’s shirt. I had a disaster with masking tape pulling up the paint on a kit just a few days previous, so I was really worried about masking around the driver, but everything turned out okay. Thanks, flat black paint. You’re really tough.
Once again, I overmasked and missed some areas. If it ends up really bothering me, I might bring the airbrush in super close and spray a gentle shadow-fade outline around those areas with flat black. Like the pros say: painting is all about covering up the mistakes you made on the previous layer.
Let’s go menace the cat
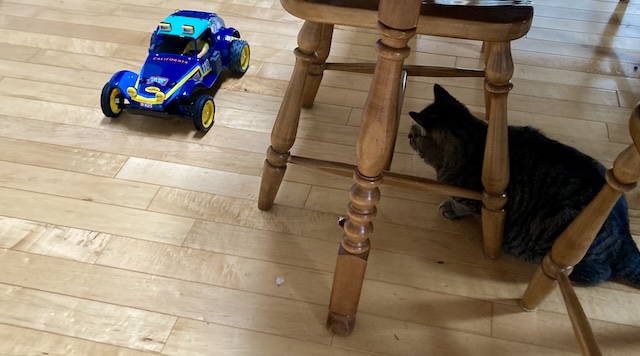
Sadly, it’s raining very hard, so I can’t take the non-waterproof Buggy out for a proper outdoor spin right now. Add that to the to-do list!
I had a lot of fun building my first Tamiya R/C car, and I just so happen to have purchased a bunch more that are going to follow in its steps. Thanks for reading!