
1992 Silverado by AMT
Tags: mokei amt gm car
Sometimes it’s fun to build a kit with lower detail. This regular-cab Silverado pickup truck model has no engine, almost no parts, and very limited underbody detail. I figured it would give me an opportunity to have a quick and relaxing long-weekend build.
As I just said, the goal of this project was to get something done quickly and have fun, but also to try a few new techniques. This “Easy Build” kit has so few parts (43 in the box, with 8 parts left unused because of optional wheels and mirrors) that I figured it would come together in a flash.
Colour choices
There’s a lot of colours available for the GMT400-series trucks, but I chose Morrie Green Mr. Color GX (GX6.)
This is a little “fuller” green than the GM 43U Emerald Green, but I thought it was pretty close. To confirm, I found a real green GMT400 on the street and stared at it for awhile. Although I don’t have the best colour sense, I decided to upgrade that position to “very” close.
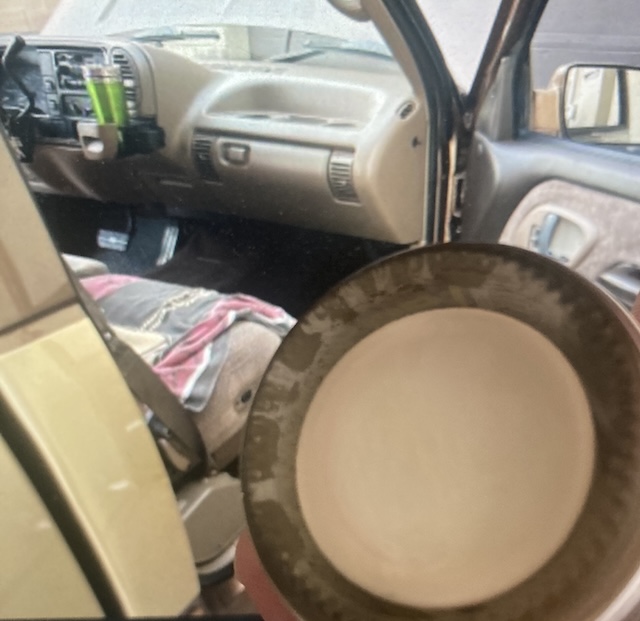
For the interior, all of the Emerald Green trucks I’ve ever seen came with tan cloth seats. I rummaged through my paint bin, and found that Mr. Color C44 (“Ship Line Tan?”) looked extremely close.
Painting begins
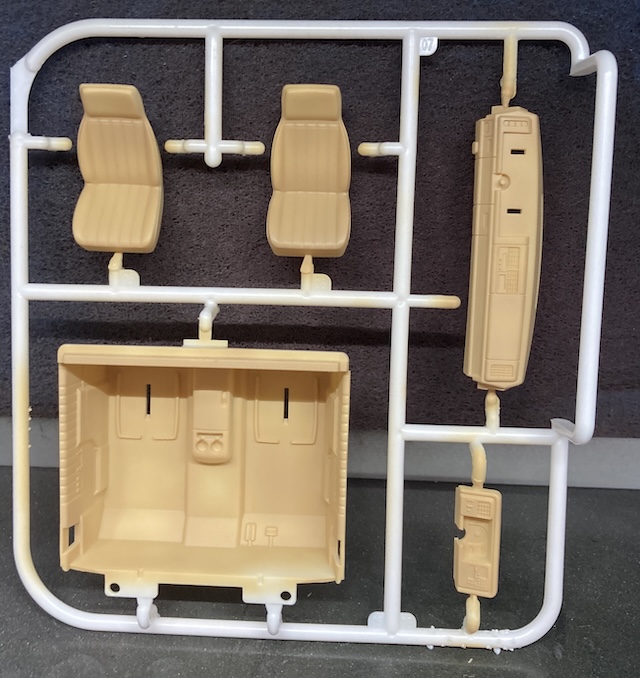
Trying something new, I sprayed the interior parts while they were still on the tree. Previously, I’d avoided this because I worried about the unpainted “sprue part” sticking out like a sore thumb, but in the case of the interior parts, it is hard to tell. I think it came out alright, but I probably won’t do this again.
As usual, I had some trouble getting the gauge decals to lay out flat. The inside of the gauge binnacle seems to be moulded for a different set of gauges, which is weird and unhelpful. I don’t know why they wouldn’t just make this flat. I also put down the other set of binnacle decals, but they were crooked and I couldn’t easily move them without tearing. So they stayed there, and got slightly more crooked as they dried. A fresh Olfa blade made it really easy to cut them out, but I remain a rookie at waterslides.
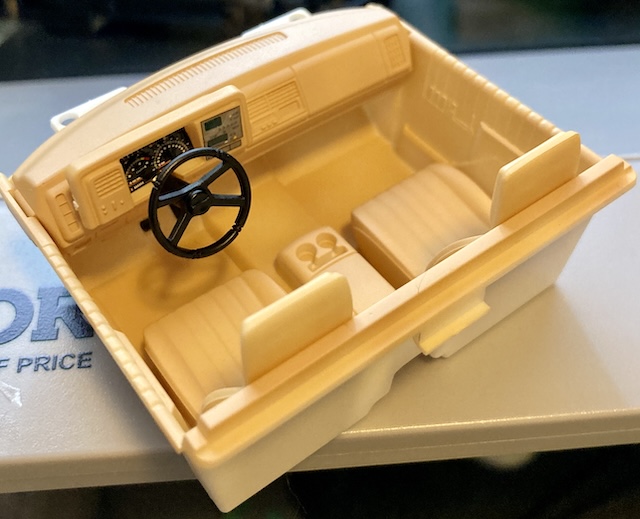
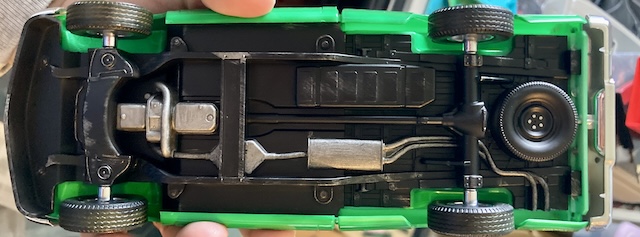
Doing the underbody is a bit of a challenge. Although this kit is a curbside, they’ve made provisions for the hood to be removable and for you to put an actual engine inside.
Since I’m not doing that, I ended up gluing the hood onto the cab, and using a little plastic insert that contains the headers and oil pan from the imaginary engine. It’s all one piece, so I got to practice a lot of hand painting – more on that in a bit. Thankfully, this is all on the underside…
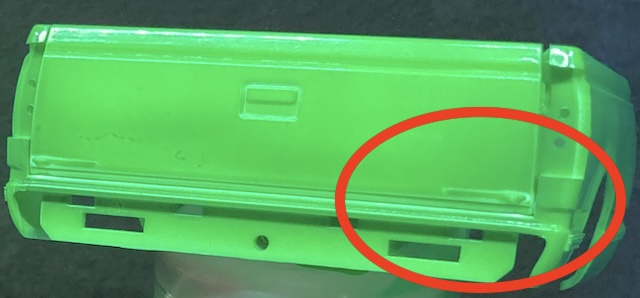
I also did something stupid at this point, and installed the tailgate. I mostly wanted to see how it was for fitment, but it doesn’t latch well. Even knowing that, I proceeded to paint the whole bed in one shot without holding the tailgate stll. It popped open near the end, and wrecked a whole bunch of fresh paint.
Painting continues
The GX6 is very transparent, so it was easy to make tiger stripes and uneven colours with my tiny airbrush needle. That’s exactly what happened, especially on the hood. I was able to mitigate the worst of it by painting across the whole body in one shot instead of panel-to-panel. Hey, it’s a General Motors product. I’m sure they weren’t much better from the factory. I also had a lot of trouble jigging the body, as it’s just the wrong size for all of my stands, and tape kept letting go in the middle of a spray job.
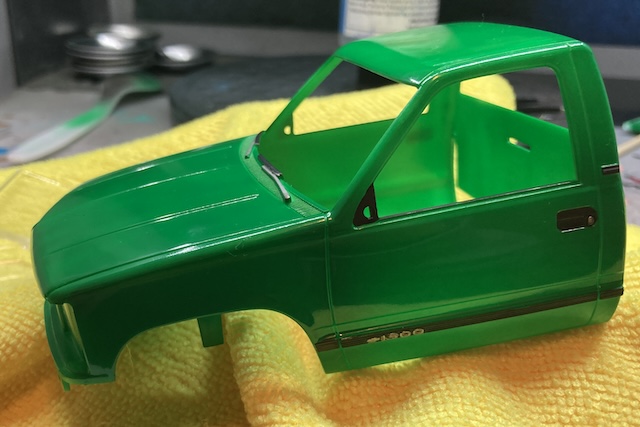
My manual dexterity with markers is improving quite a bit. Even the tricky recessed door handles were able to be done with the AK brush pens. The GX laid out just smooth enough to make pen work easy, but without letting the ink run.
I added a “Flat Black” AK pen to my existing rubber black collection during a trip to Maple Airbrush, and used it for the badges and door handles. I skipped the decal and tried to just use a silver Sharpie for the model number on the sash trim, which doesn’t look great up close but looks fine from a distance.
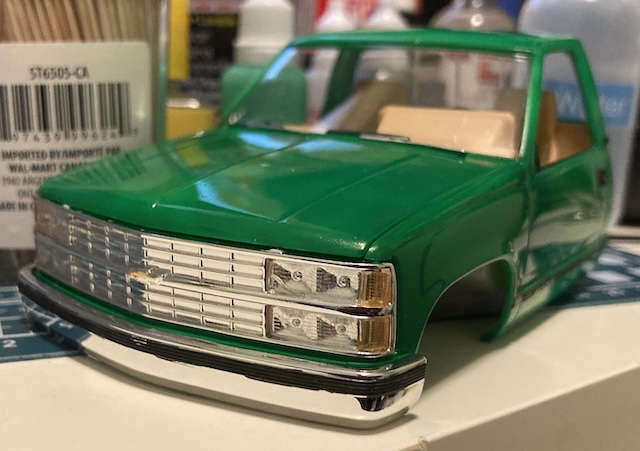
I should have spent a little more time filing down the sprues on the grille. I thought they would go the other way around, but they are very obvious. Maybe I installed it upside down.
Like with the clear window parts on the Skyline, the AK pens do not seem to work very well on chrome pieces. The bumpers didn’t come out as nicely as I wanted, and I think I would have preferred my original plan of sticking them all in bleach and then painting them body colour or flat black instead. Maybe for the next AMT kit.
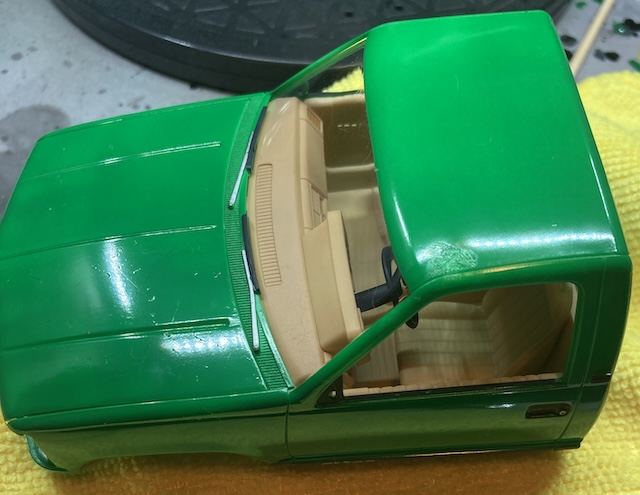
While putting the interior into the cab, disaster struck again. I got super glue on my finger, and then without thinking touched a painted part of the roof. That’s the same thing that caused horror on the Skyline, and I had done it once again. However, the spot wasn’t too bad, and I decided to push through it.
Hand-painting time
It was time to paint the exhaust and other fine parts on the underbody. I decided to brush paint with Tamiya acrylics, which has always made me a little nervous. This time, I had picked up some of the AK 3rd Gen thinner from Maple, which gave me some confidence to experiment. That thinner worked really well! I had no problems with brushstrokes or lifting the existing Tamiya acrylic paint off of the underbody as I painted the muffler/midpipe, header and axleback exhaust.
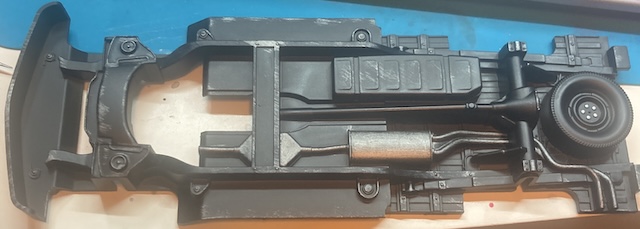
For a little victory lap, I also did some dry brushing. I was shocked at how easy it was to add the illusion of depth and complexity to the underbody with such an easy and fun technique. I’m definitely doing this again.
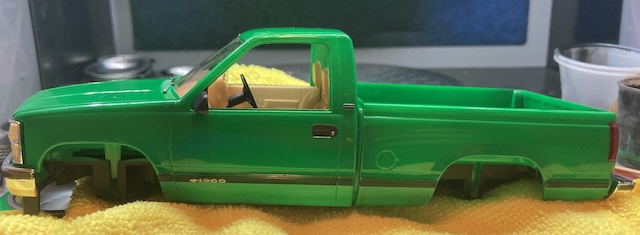
Once I had repainted the bed and tailgate separately, I put them together. The tailgate kept falling down, so I ended up gluing it into position. If I had done this in the first place, I would have been able to save a lot of paint!
Weathering
I hit the tires with some Tamiya yellow-brown filter liquid to give the impression of dirt. I think this worked well, but it’s hard to tell it’s supposed to be dirty from a distance.
On camera, it provides contrast that helps make it easier to see the treads. I liked the effect, so I’ll do it again in the future. The colour is a little too yellow for my taste, which makes it look like junkyard mud instead of forest mud, so I am going to try and find the Mr. Color brown filter liquid.
The chrome wheels mostly rejected the black panel liner, which is not surprising.
Conclusion
This thing came out really nicely, although the colour is hard to see properly with my indoor lighting. It has been raining all week so there’s been no chance to do the usual outdoor photo!
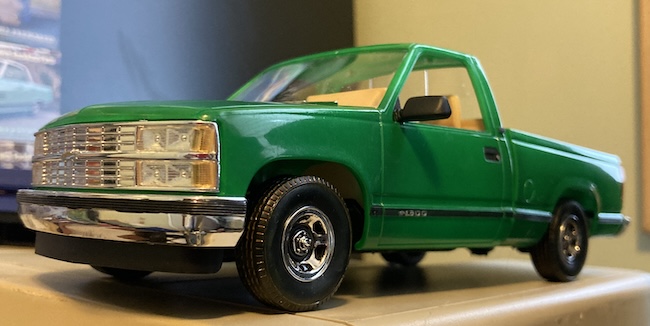
Barring the obvious mistakes I made, I think the truck came out pretty well. This was meant to be a quick long-weekend build, and I accomplished that goal. I’m happy that I got a relatively even paint job from a very transparent paint.
I think I did not quite hit the exact paint colour I was going for. Acadia Green is at least one shade darker than this: maybe a few drops of black would have made it closer. A lot of the GX colour range seems to be designed for eye-popping anime colours, which is generally what I want anyways. Still, it looks fairly realistic. I’d drive a truck in this colour, especially with this little rust.
Technique-wise, the most obvious flaws in this thing (besides the thumbprint on the roof) are the sprue gates. I didn’t do a very good job cleaning them up before painting, and it’s most obvious on the chrome pieces and dash binnacle. Usually, I spend at least a day in the shop just cleaning up pieces, but that’s not as much fun as painting.
Maybe the biggest lesson was that I should trust myself more on the kit. I knew going in that old AMT kits have kind of wonky fitment and I’d have to tactically ignore the instructions. Every time I second-guessed a modification I was going to make, I ended up regretting it. For instance, the floppy tailgate that I just glued in at the end.
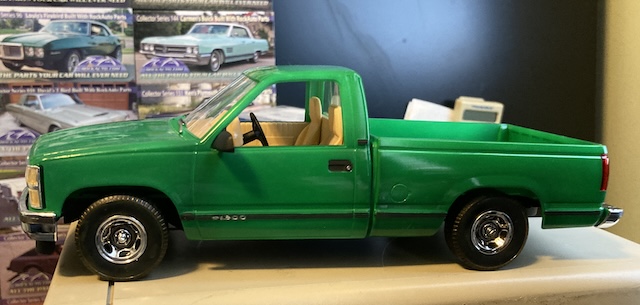
The biggest flaw in the kit is the saggy bed: when I was first test fitting the body, I thought this might happen, but I couldn’t figure out a good way to glue the cab and bed together, and I was worried about if both of them would fit into the chassis afterward. It seems like the cab rides too high on its end, and the bed latches into the chassis, so it may be as simple as removing the cab and shortening the mounting pins so it can ride lower. Good thing I didn’t glue them in!
In retrospect, I could have probably spent more time on that, maybe even using a clamp and shim through the back window so I could glue the cab and bed together, which would have saved a lot of time painting the bed and cab individually. But, I’d never painted a truck before, so that’s a lesson for next time.
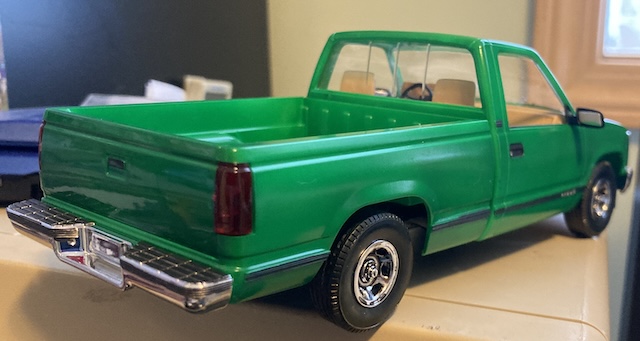
I also thought it would have been a good idea to strip all the chrome and do either body colour or blacked out parts. It would probably have made the wheels look better, for sure. Getting things done quickly won out over doing it right in this case, but I should trust my instincts on this more in the future.
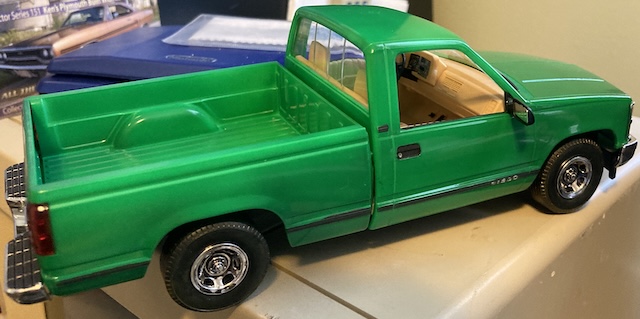
While we’re on the subject of things I wish I had been able to do, bedliner would have been a good one. I’ve seen people do it with Surfacer 500, but I haven’t been able to find that stuff at any store. I think it would have added very nice contrast to the bed, and I certainly wouldn’t throw junkyard parts into the back of a nicely painted truck.
By far the best part of this was getting the sash trim and the hand-painting on the underbody to look nice. Brush painting Tamiya acrylics is not super trivial! It’s a shame that it’s hard to see the underbody, especially in a display case. I’m way less afraid of hand-brushing (coarse) detail now.
Thanks for reading!