
Jimny Wide
Tags: mini4wd tamiya suzuki jimny car
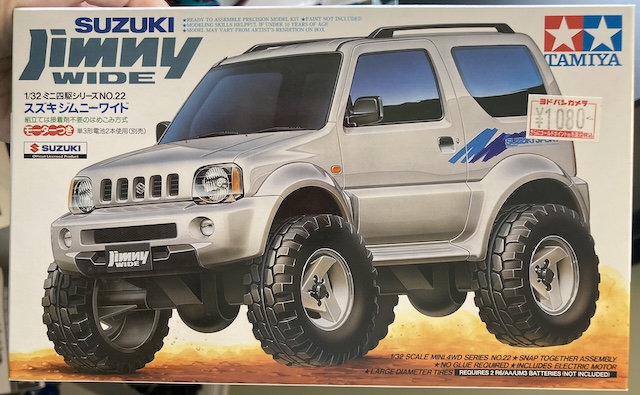
Although the racing Mini 4WDs are fun, there’s a lot of off-track fun to be had, too. Summer means off-roading, even if it is just in a straight line. I picked up this “Wild” Mini 4WD Suzuki Jimny in Japan, and I want to do a reasonable job building it. Let’s wide!
Wide?
I’d never heard of a Jimny Wide before, although I had been exposed through cultural osmosis to Japan’s obsession with all things Suzuki Jimny. While the regular Jimny is kei-class, the Wide – as you might expect – adds widebody fenders and extends the track width. Since it then breaks out of the low-tax kei class which restricts engine displacement, Suzuki did everyone a solid and slammed a big block G13BA 1.3L four-banger in there.
In the box is the normal early Mini 4WD stuff, including multiple instruction manuals, a tube of grease, several runners of drivetrain parts, a tinted “window” insert, and big chunky rubber tires.
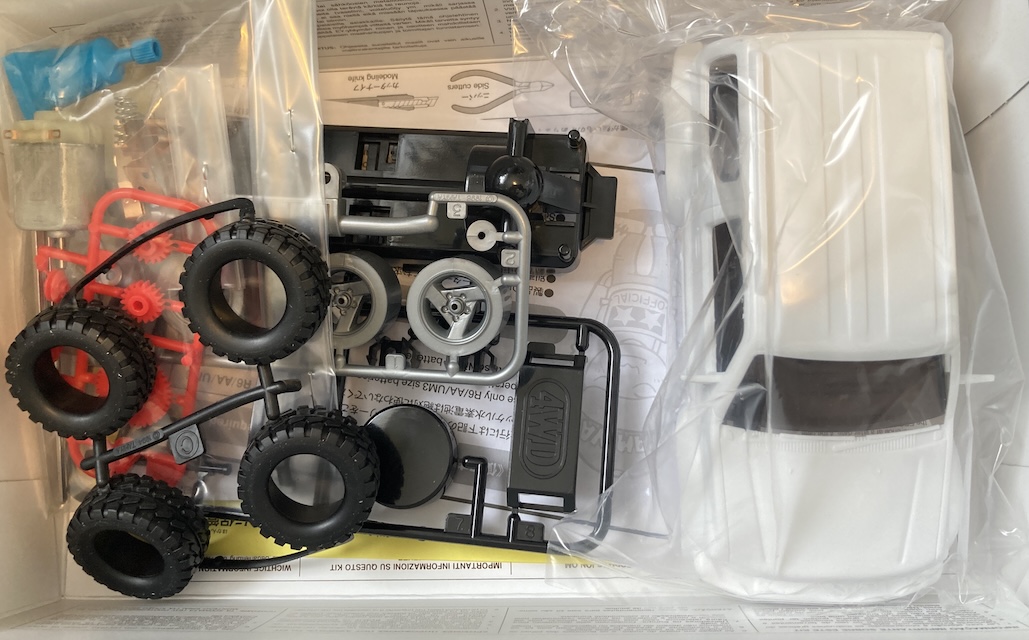
If you’ve built a Lunchbox Jr, this is the same kind of thing. If you haven’t built a Lunchbox Jr, go find whatever shop near you sells Mini 4WDs and build one.
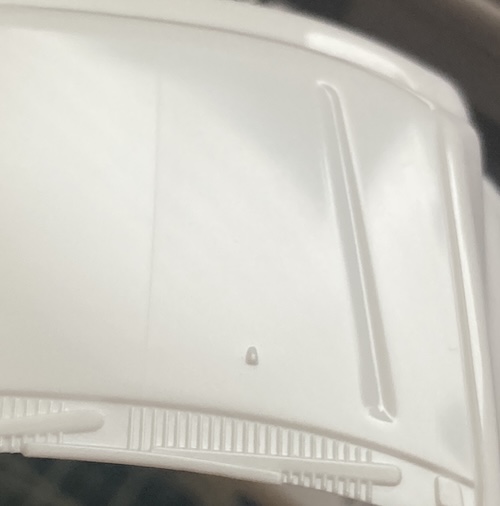
The polystyrene body is in nice shape, with the standard Tamiya caveats. I couldn’t find any mould lines other than a faint one on the hood, which I figured I could cover up with paint. I went ahead and washed it, and prepared it for paint.
Base coat
When I had to paint some very tiny pieces of another kit with Tamiya Chrome Silver, and I had a bit left over in the brush, I decided that now was the time to also base-coat the entire Jimny body, because it was within reach.
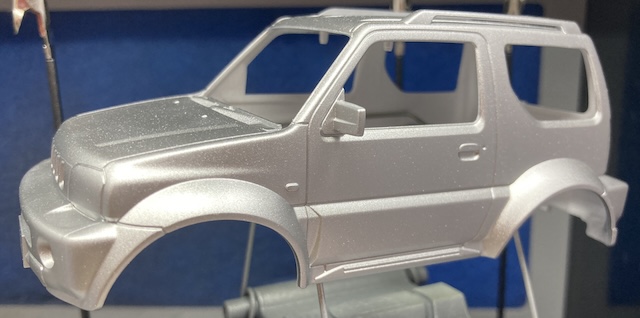
It got a whole load of Chrome Silver; I went from “a bit left over” to mixing up a whole second bowl because I missed tagging one of the mirrors. Was this a well-considered idea? No. Was the body prepped well enough to make it durable? No idea.
I do know that I discovered where the parting line really was the second I put some paint on the rear hatch. I let the freshly-silvered body sit to cure for a few days while fate decided what the colour coat would be.
After it had cured for a day or so, I went back to touch it to see what the finish was like. I was a bit surprised to find that the surface was pretty rough. I assume that I had built up the flakes of the metallics so much that it was making an improvised sandpaper out of them.
Colour coat
Initially, I tried to put on some Mr. Hobby C151 white pearl. I was planning to use that paint for another model in the future, and I wanted to learn how to spray it on a lower-risk model.
Unfortunately, it turns out that I didn’t mix it right, and I basically ended up with a bunch of white pearl pigment in the bottom of my bowl and hitting the chrome silver paint job with just thinner. This caused a couple runs that were visible under any topcoat. The lesson here is probably “don’t mix heavy pearl in the airbrush bowl.” We’ll find out if that’s correct the next time I try to put pearl white on something.
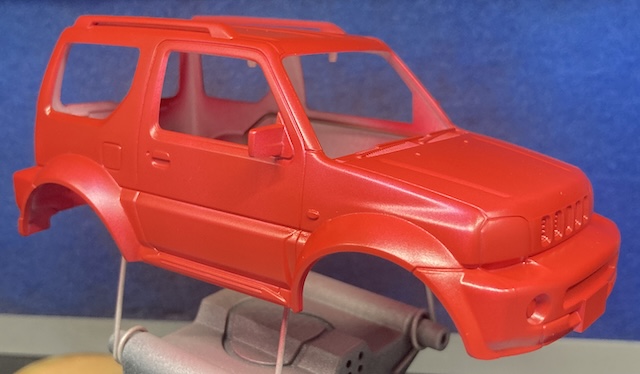
After a thorough cleaning of the entire airbrush, I switched to Dspiae Mecha Red 1, and that laid out beautifully. I wasn’t sure if the silver backing would show up at all with the heavy opaque pigmentation of the red, but certain angles of light seem to make a nice pink iridescence. The coat was acceptably even.
Once that paint had been allowed to cure over the course of a day or two, I got ready to do all the detail painting. Tamiya wants you to colour the roof rack, the wiper tray, the wing mirrors, the rear wiper, and part of the bumper in semi-gloss black. The fender-mounted turn signals can be done in yellow.
Time for extra credit? Despite my suspicions, a quick image search revealed Jimny Wides with both black and body-colour door handles. Must be a trim level thing. I decided to not paint the door handles black.
There were a few parts too small to mask: the rear wiper blade for starters. I tried the AK “Rubber Black” pen on it. This worked amazing! I will be using this more often. I went on and did the wiper jets and the grille inserts with it as well.
Sadly, when I pulled the tape off, some of the paint came with it. I thought it was just limited to the cheap dollar-store painters’ tape I was using, but the Tamiya tape did (much less) damage, too.
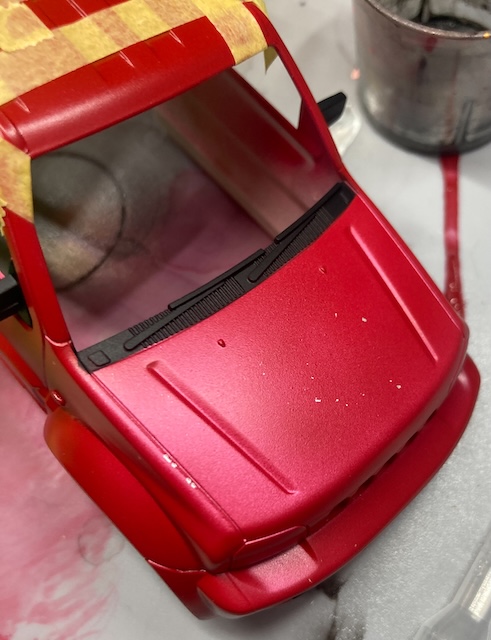
My immediate reaction was that I should have clear coated this before masking it, and removed the tape much more gently. Lesson learned for next time, but really discouraging. At least the masking was really clean, except for a small glob on the A-pillar and an accidental downdraft on the passenger-side door.
When spot-testing with tape afterward, I quickly found that no amount of gentle tape removal would have saved it. More and more paint came off, to the point where I resigned myself to repainting the car. It went back into the box for now, awaiting a full repaint.
Strip it
I went to the hardware store and got a couple bottles of 70% isopropyl alcohol, and a plastic container with a locking lid. Then I chucked the model in there and started making acrylic soup.
In retrospect, I probably could have used a much smaller container for a car of this scale, but it started working immediately. The Mecha Red came off as the isopropyl was still being poured in, followed shortly by the flat black. There was a distinct silver tone left behind for a few days, but it came off quickly with a toothbrush.
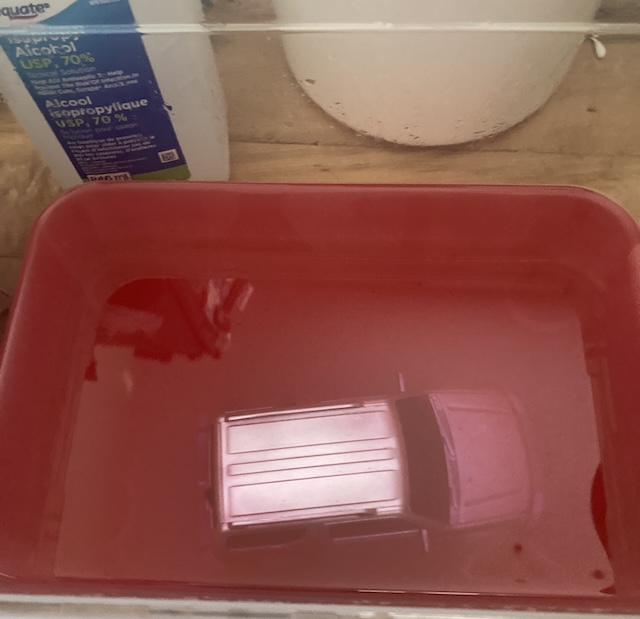
I left it in for a week after that, which seems like it was a bit too long, as some of the red staining proved very difficult to remove even with scrubbing. Luckily, most of it was on the inside, where nobody will ever see it.
Although a good theory is that the very rough silver flake is not actually a solid substrate for paint, I am suspecting that the Dspiae paint and the Tamiya silver paint are not compatible, for whatever reason of chemistry. More experimentation is necessary. I’m glad I found out here and not on a more complex kit – I was also planning on using this Mecha Red on a Skyline model. It still sucks to lose that nice masking for the flat black, but I’ll live.
Did I fix the part lines while the body was unpainted? I most certainly did not.
Repaint it
This time around, I decided to try lacquers. I put a bunch of black finishing surfacer on, and then moved right into the topcoat. There was a Mr. Color (C57 - Metallic Blue-Green) that I liked the look of, but is too bright, so I thought this undercoat would mute it a bit.
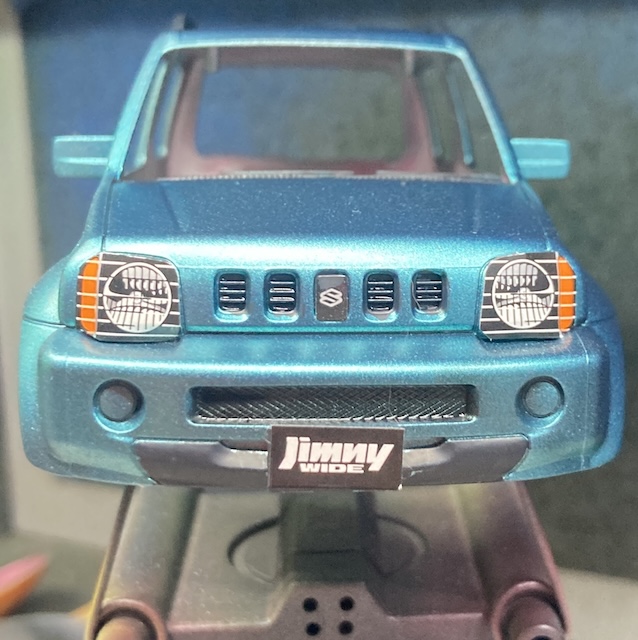
Spraying it out looked quite good, and the tape test about 24 hours later proved that the paint adhered a lot better! Even so, I ended up filling in the roof rack and front areas with AK rubber-black marker instead. I was too afraid to do the window trims.
The corner markers were ticked with a yellow Gundam marker, and I went on to put some stickers on.
Unfortunately, the tail-light stickers kept falling off where they bend around the edges, so I ended up removing them for the clear coat (X-35 Tamiya semi-gloss clear; 4 coats.) I tried to paint them in later with the red Gundam marker, but it was much less opaque than I wanted.
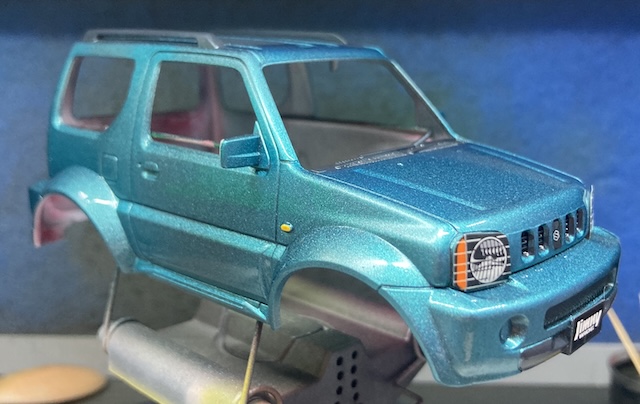
The wheels got treated to some panel liner to make them look a little less monotone, and soon it was time to put the truck together.
The headlight stickers also kept popping off, even after the clear. I ended up putting a little bit of Elmer’s glue behind them and then really mashing them on with my thumbs for a few minutes. That seemed to hold?
Assemble it
One odd thing about this kit: it comes with a push bar, and stickers for the lights on the push bar, but the manual never mentions it and there doesn’t seem to be a place to put it. Even if you install the “track bumper,” it goes on the rear. I just ended up leaving it in the box, but if you know better than me how to mount it, let me know.
Putting the rest of the drivetrain together is simple. There’s only a few parts, and although the illustrations in this manual aren’t the most clear, you can figure it out pretty easily. Just how the wacky “clutched” driveshaft works is still a mystery to me.
Installing the body isn’t as straightforward as the Lunch Box Jr, but it’s still pretty easy. There’s a slot in the front bumper, there’s a tab on the chassis, and you line them up and click it together.
Complete!
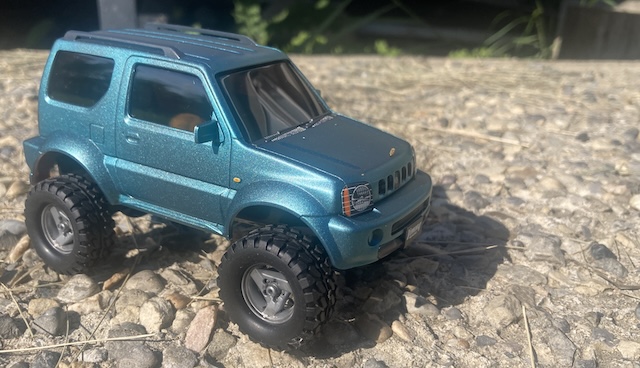
It looks really good in the sunlight!
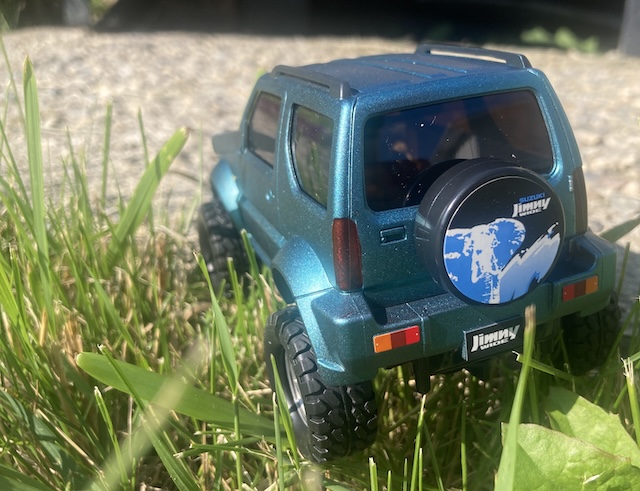
I’m disappointed in how the tail lights came out: I should have held out and tried to make the tail light stickers work. It still remains to be seen how long the Elmer’s glue fix for the headlights will hold.
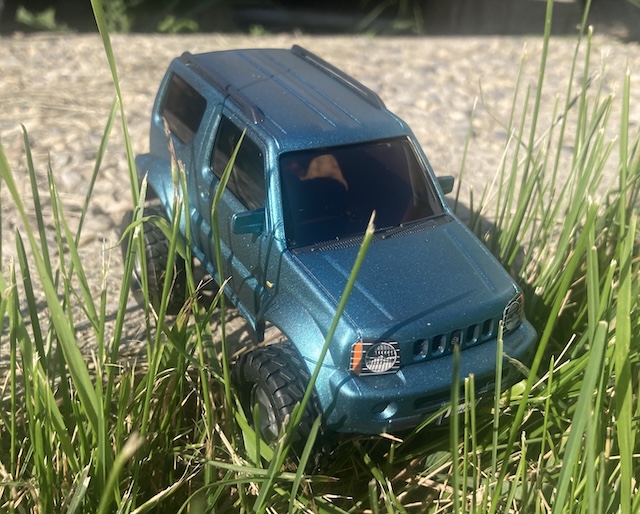
I can already tell you that this thing is a pretty good crawler, though. It has way more approach angle than my Mini 4WD Lunchbox does.
Here’s what I think I learned on this project:
- The virtues of lacquer-based model paint;
- How to strip paint when you screw up;
- Additional stubbornness.
Thanks for reading!