Watersliding my NC Miata around
Tags: mokei bburago mazda backlog
Here’s another easy-to-build pre-painted kit that I haven’t gotten around to building in well over a decade. This NC1 Miata is a pretty thing with very awkward instructions. The purpose of finishing this is to learn how to do waterslide stickers!
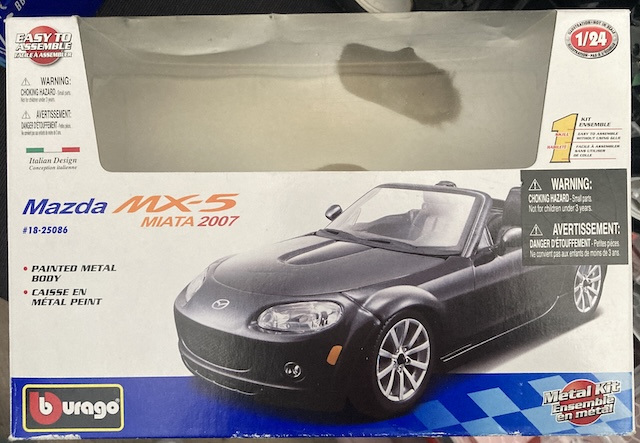
I don’t even remember working on this kit, but it is partially assembled and sitting in a pile of other debris. Since the weather is still not cooperating for paint, let’s finish this off. Like many things I gave up on in the past, I assumed that I had given up not because one thing was going wrong, but because multiple things had gone wrong in close succession.
First off, I realized that I had held the passenger-side headlight in with Scotch tape. Over the years, this of course left sticky residue on the headlight and the body of the car itself. Not sure what I was thinking. As soon as I removed the tape, the headlight fell out, its clear plastic pegs poorly matched to the size of the holes in the metal body.
Water did not remove the tape residue, and I’ve had terrible results in the past with isopropyl alcohol eating metallic paint that looks very much like this one does. Maybe it would be safe on clearcoat, but for now I scrubbed it a bit with a baby wipe and hoped for the best.
I stuck some Tamiya glue in the backside of those pegs, and it seemed to hold the headlights in place. Ah, a demon of the past defeated. Now to figure out where I left off.
The revenge
After consulting the spectacularly bizarre and insanely badly translated one-page instructions, I determined that where I had stopped was putting the dashboard together. Why? Because it needed a waterslide decal for the gauges on the dashboard, which apparently I was too afraid to do back then. No time like the present!
That fear may have been justified. I screwed up a couple things here! For starters, I cut the waterslide right down to the colour area, so I had no non-decal part to grab onto with the tweezers. And I had no idea what was supposed to happen, so, after soaking it in water as per the Bburago instructions, I tried to peel the backing plate off and ripped it. The label was still fine, but it had a chunk of paper attached to it that I slowly had to move off. This produced some success.
I thought about putting some UV resin on here to create a false “lens” over the gauge cluster, but I hadn’t actually used my UV resin kit for anything yet, and I didn’t want to find out that it somehow eats whatever waterslides are made out of in the process. Maybe next time.
Remarkably, the rest of the interior was really easy to put together. All of the little fastening tabs were well-formed, there was no flash to speak of, and the shifter and handbrake stayed in without any glue. Nice work there.
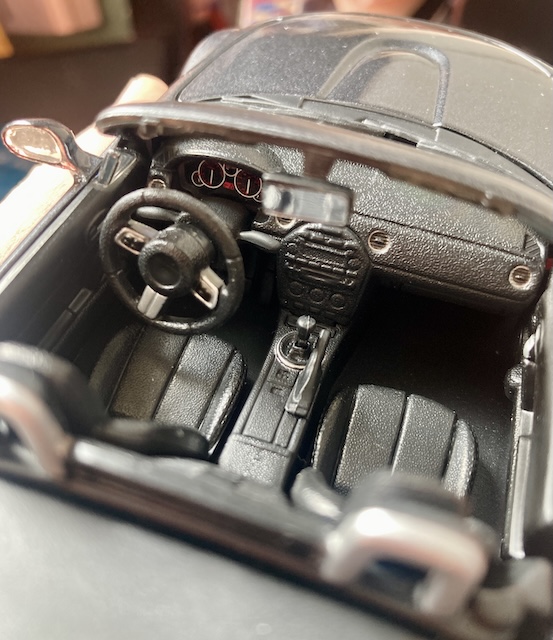
My greatest struggle, it turns out, was still to come. The steering linkage consists of a fork-shaped part that pivots on a riser on the front subframe, and pushes the steering rack side to side. Every time I tried to put the top shell back on, the steering wheel would pop out or otherwise become misaligned, and I’d lose steering again. Even if I did manage to get steering, bumping the front wheels in any way would immediately eject the steering wheel.
I spent so much time messing with it – over an hour of fighting these two pieces of plastic – that the waterslide Mazda decal on the steering wheel fell off. I guess it wasn’t fully dry? I never found out where it went, which made me feel even worse. Luckily, Bburago gives you two copies of each decal, but I was not willing to dismantle the car again in order to get a second decal on the steering wheel, and the other copy had gotten badly creased in the cutting of the first one. A shame. It looked really good before I screwed everything up, too.
![]()
I did get a chance to redeem myself, because after the car was complete, I did some flawless mirror decals (self-adhesive.) Then it was time to do the waterslide Mazda logo for the front… and it came off the sheet perfectly after I took my time with each step. Almost like I gained some experience doing this project, and finally patiently learned what was supposed to be happening this whole time.
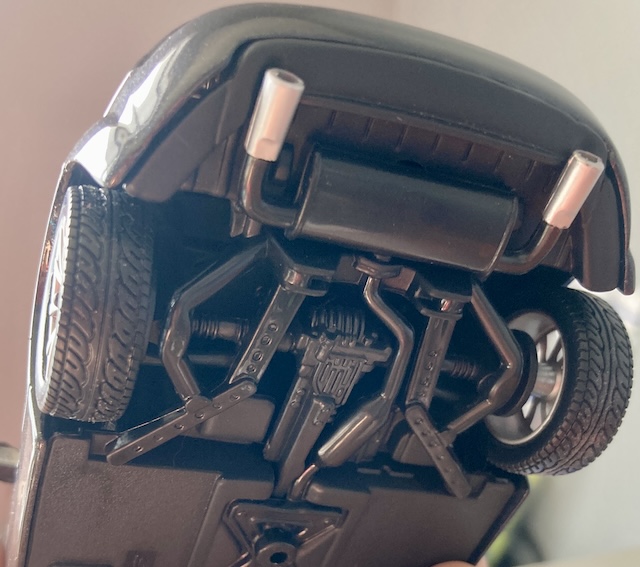
Like usual, I almost forgot to put the exhaust on. If you’re familiar with Miatas or RX-8s, you’ll notice that the rear diff is fairly well modeled in this kit, if a bit flat compared to the real thing. Something feels off about the powerplant frame, as well, but they had to make choices to make it easy to assemble the kit.
I’m calling it there. A trunk badge would be nice, but the waterslide sheet is badly creased in that section as well. Although it looks very good on my “shelf” consisting of an Atari ST CRT monitor, I’m definitely going to avoid handling this car and its fifteen-plus-year-old waterslides until I can get a bottle of Mr. Mark Fitter.