Tamiya Electric Handy Router build
Tags: tamiya quick tools
I already have a perfectly good hoard of Dremels in my collection of tools. So why am I paying Tamiya a bunch of money to buy one that runs on AA batteries? You know why. Because it comes as a kit.
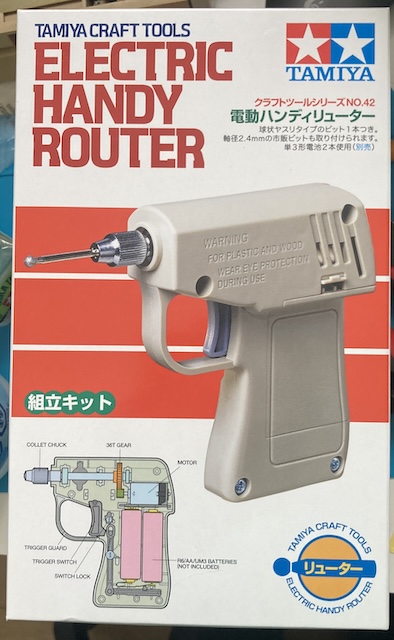
The Handy Router comes in Tamiya’s standard “small” box. That’s the same size they use for most Mini 4WD kits, so it stacks well in your backlog with all of those. Mine was sitting on top of a Tridagger XX. An unexpectedly rainy day derailed my painting plans1, so I got around to getting it out.
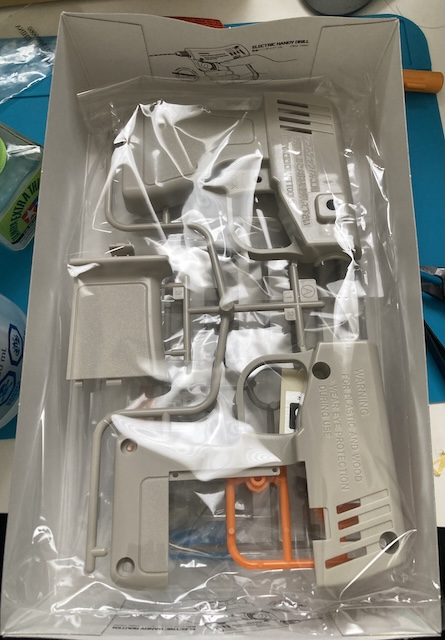
Inside the box is the usual collection of bags, along with a really thin manual. The standard blue Tamiya grease tube is on offer, just like with a Mini 4WD.
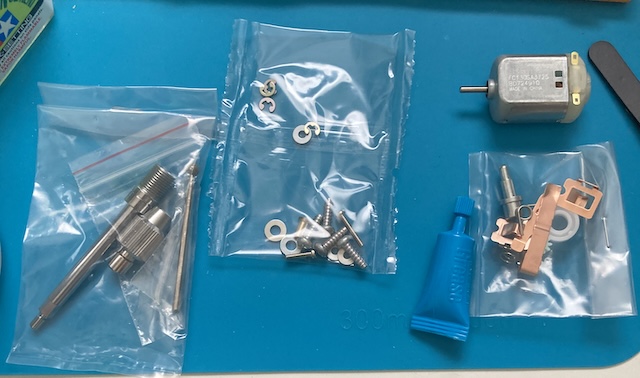
Of primary interest are these hardware bags, which contain (among other things) a nicely machined shaft, a drill chuck and a collet. It’s only here, reading over the manual, that I finally discovered the difference between a “chuck” and a “collet.” This is probably where ninety percent of the BOM cost of this thing was.
The motor is a standard-looking type 130, but it says “made in China.”
I was very tempted to replace the plastic 1150 bushing in this with one of my RC bearings, but I figure I will wait and see how much this gets used first.
It is nice of Tamiya to provide extra E-clips and washers. They know.
Assembly
The first steps are pretty simple: clip out some plastic, attach the battery terminals, and slap the motor in there. Then you have to make a linkage for the trigger, trigger lock, and shaft brake.
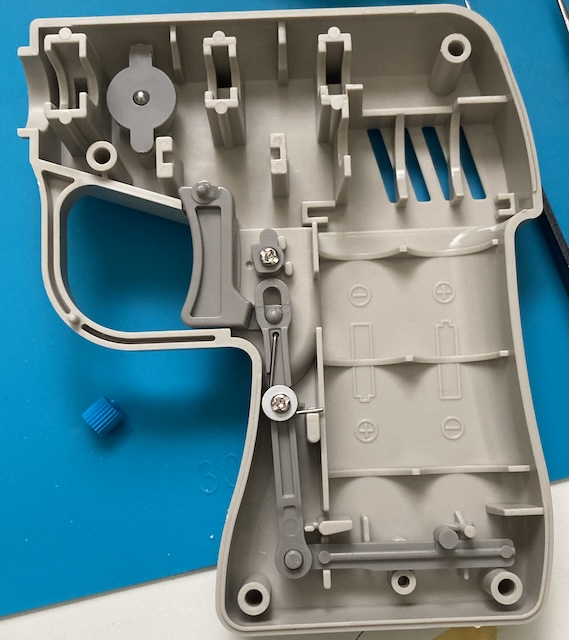
The trigger kept falling out of its hole, which was annoying. Later on, I had to dismantle the entire handle and put it back in place while I was screwing the two halves apart, because it had popped out while I was test-fitting and I didn’t notice.
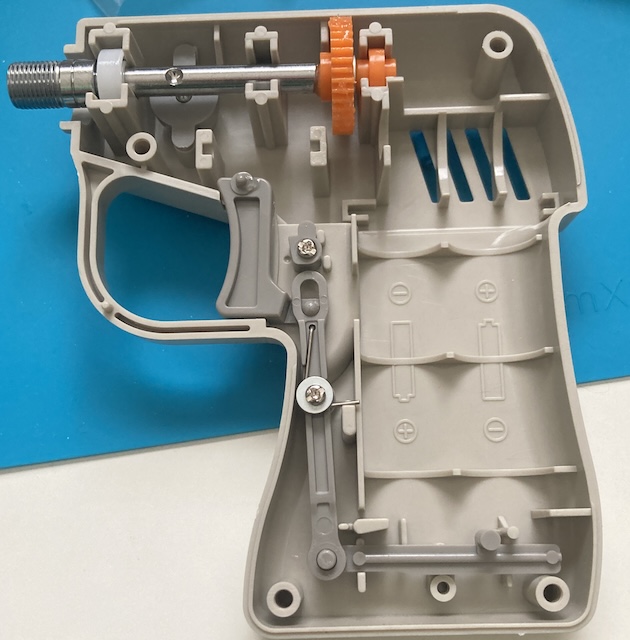
After the trigger mechanism, the next step is to build and install the gear train. I’m not sure what material this bright orange gear is – the sprue tree didn’t say – but it’s probably POM and not ABS.
Then you clip the motor in, making sure its pinion meshes nicely with the big gear. The final step before screwing the two halves together is to put on a guide plate for the trigger linkage. This guide plate helps constrain the linkage so that it can push the negative terminal on and off of the battery, running or stopping the motor appropriately.
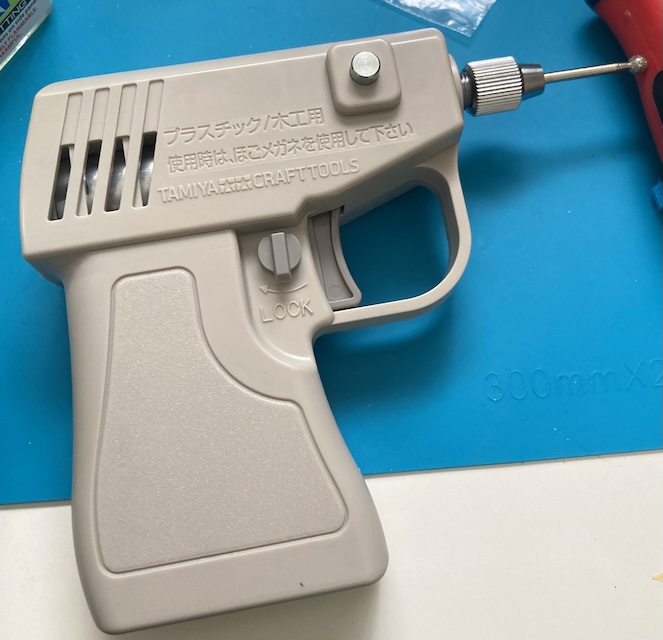
After installing the chuck/collet and router bit, everything is ready to go. Well, once you put batteries in it.
Testing
Since I just recently finished the router, I have not had much of a chance to even try it out. I have only used this a little bit to clean up some flash on some parts, but it seems to work nicely.
My biggest complaint is that it’s incredibly loud out of the box. That said, it is much quieter than a Dremel, but I wonder if putting a full 1150 bearing in there would help quiet it down. Maybe I’ll grab some cheap ones from Amazon.
If you can get this kit for relatively cheap, I recommend it. It’s a fun way to spend an hour or two building something that’s of at least moderate usefulness. I’m definitely going to go back and get the sister kit that lets you build a Handy Drill.
Thanks for reading!
-
I still have yet to get a model booth (not for lack of trying,) so I’m painting on the picnic table outside. Hey, I now have a 12 inch by 12 inch space on my desk loosely reserved for “building kits.” That’s a huge advancement on its own over the way it used to be, where I had to build everything on the kitchen table. ↩