Built like a Brick Shop
Tags: mokei mattel mattel-brick-shop honda
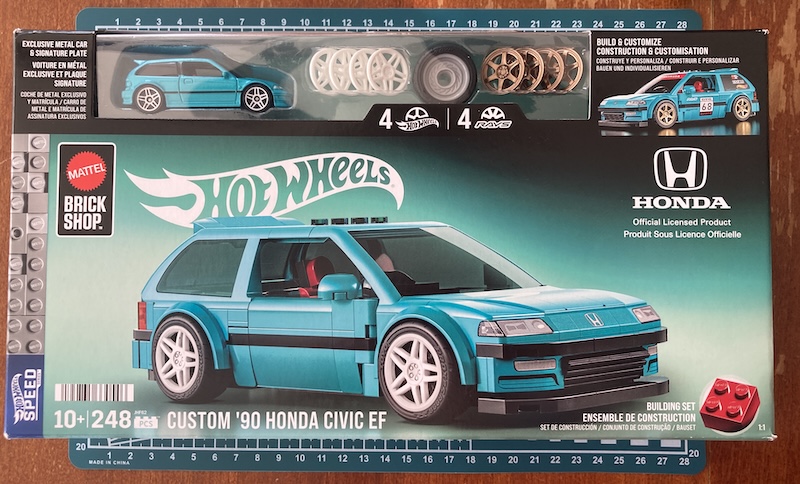
Although I’ve seen them at the stores for awhile, I wasn’t particularly interested in doing any of the early Mattel Brick Shop kits. They seemed to be predominantly European cars, and although the Audi RS2 price seemed right, the kit didn’t look that good to me. Lucky for all of us, Honda was there to license them an EF Civic in just the right shade of Taihitian Green Pearl. Honda can always get me to open my wallet.
Mattel seems to have three tiers for their models in terms of pricing. The cheapest ones are about thirty dollars Canadian, there are middle-tier cars such as the Acura NSX at seventy, and the “premium series” at a hundred and twenty dollars1. The pricing seems to be proportionate with the amount of bricks in the kit; this one has “248 pieces,” whereas a Premium Series Mercedes gullwing claims to have 1600. Now that I’ve done this kit and have a good idea of the quality level, I have become pretty tempted to pick up an NSX as well.
I paid about thirty dollars for this kit from Amazon, and although the preorder ad seemed typo-ridden and sketchy, it did eventually produce a kit for me. It is out of stock again as of the time of writing. This kit has been released alongside the Honda S2000, which seems anecdotally much easier to find. Either there’s some production issue keeping this kit off of shelves, or tons of demand, who knows? Probably by the time you’re reading this, you’ll be able to get it from any Walmart toy section in the world.
Enough about pricing and availability; I couldn’t wait to tear into this thing when it showed up.
The Kit
Overall, I had a pretty good time with this kit. It’s hard to judge the accuracy of it; the Brick Shop things are not quite a Lego kit, not quite a scale model, and not quite a toy.
There are lots of custom blocks, including the entire windshield and hatchback assembly, and not all of them fit super well. I’ll get into those later.
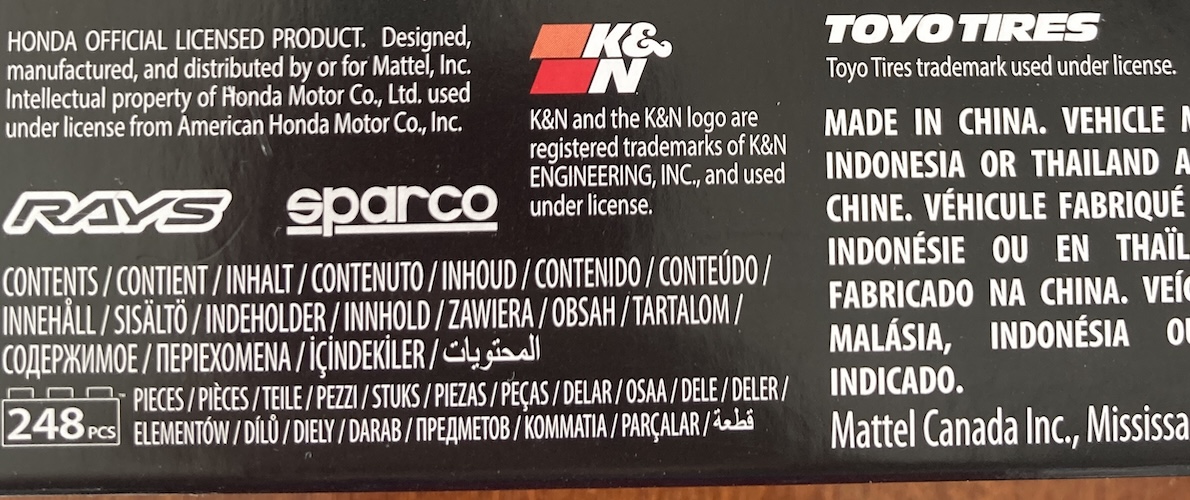
Unexpectedly, a lot of the “aftermarket” parts on this Civic are licensed. You’ve got Toyo Proxes R888 tires and RAYS “wheels.” They also included window stickers for K&N and Sparco. That’s pretty cool, and is a nice way to take advantage of this kit’s larger scale over the traditional 1:64.
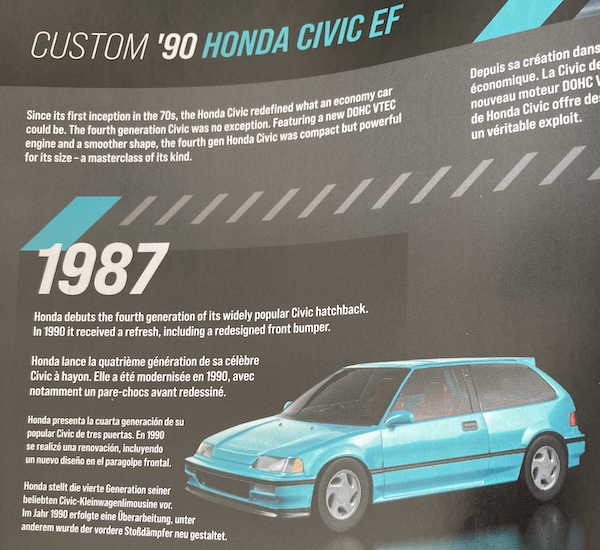
The manual is very good: it’s thick, full colour, and has little trivia drops during the construction phase. There’s also an homage to the designer of the 1:64 EF Civic Hot Wheels, Ryu Asada. The history lesson on the origins of the model is pretty short, and basically consists of a paragraph about the gratness of the Civic, a two-sentence introduction to the 4th gen Civic, and then some congratulatory bits about the 2026 Hot Wheels model. Still, it’s nice to see.
As for the instructions, while mostly clear, I was surprised to see them asking me to open multiple bags of pieces at once. I’m not sure of the reason for this, but it is a bit nerve-wracking to have to dump out and dig through two bags’ worth of parts. Probably this is a teething flaw and the “bag planning” will improve as more kits come out.
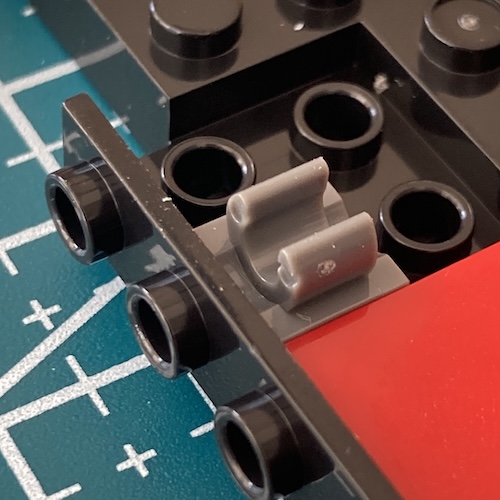
The actual casting of the parts is a bit of a mixed bag. While nothing had to be filed to fit, there were a lot of pieces with odd voids or other injection faults that don’t look perfect. One of the first parts out of the box is this clasp for the front seats, which has at least three voids in it for such a small part. Some of the pieces also required more force than I would expect to connect them, or didn’t line up properly and needed some adjustment before affixing a big piece like the dashboard. This could add to frustration for younger builders.
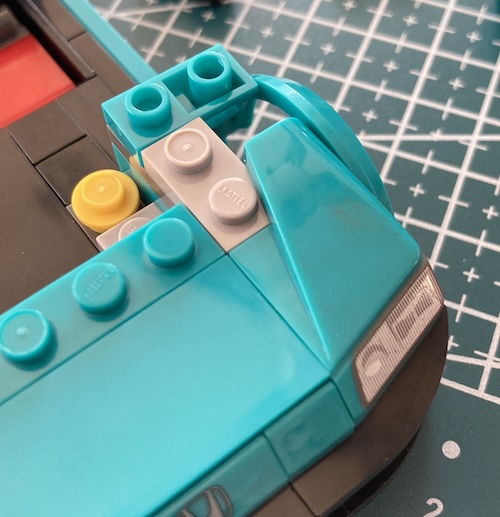
Many of the screen-printed parts are in their own bag inside the bag, presumably to keep them from getting scratched. The drivers’ side fender of mine came out of the bag with some greasy dirt stuck on it. This wiped off easily, but I wonder if the supply problems I saw are actually production issues.
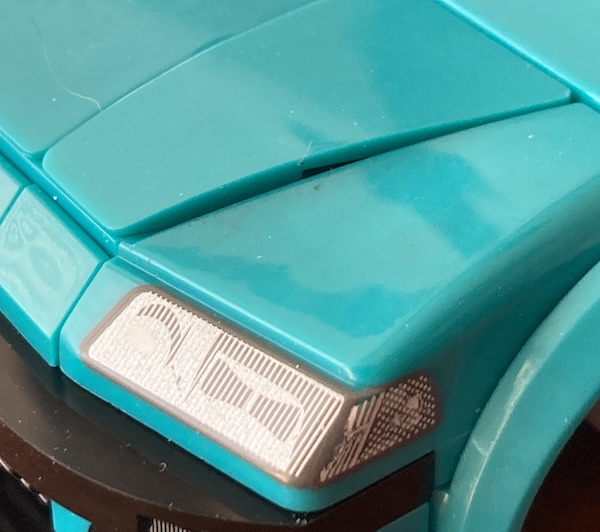
Speaking of the fender, the hood pieces don’t fit well, and when they’re installed you can still see a bit of a gap out of the sides. There’s also a prominent rise at the front where it doesn’t sit flush. It’s not a Tesla-esque panel gap, but I feel like they went to a lot of trouble to custom shoot these pieces and they still didn’t come out quite right.
I also saw a lot of little plasticky flakes inside the bags, which ended up on the parts during construction and would be a little annoying, had the cats not also helped me build this by layering my workspace with loose fur.
Neither door fits level with the fender markings, and the right-hand door doesn’t fit flush with the body at all. Those are minor complaints, and doors are hard to get right.
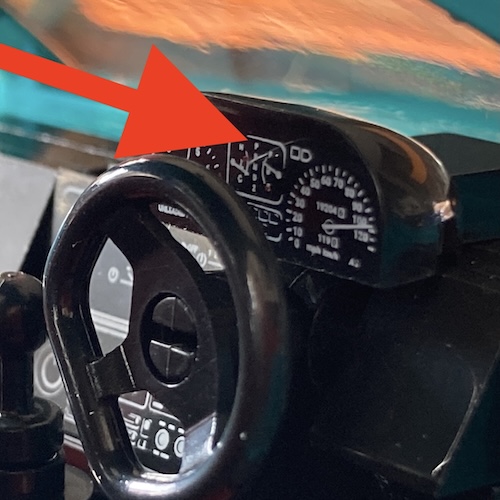
The interior is really cool. It’s got a little FM radio (tuned to 88.9; someone’s birthday?) and fan controls. For some reason, the otherwise accurate gauge cluster also has automatic gear indicators, despite claiming in the instructions to be a stick-shift JDM model.
Speaking of, I like that you can easily swap this from right- to left-hand-drive by pulling the dashboard out and swapping some parts. You can kind of adjust the height of the shifter as well, if you want something closer to stock shifter height.
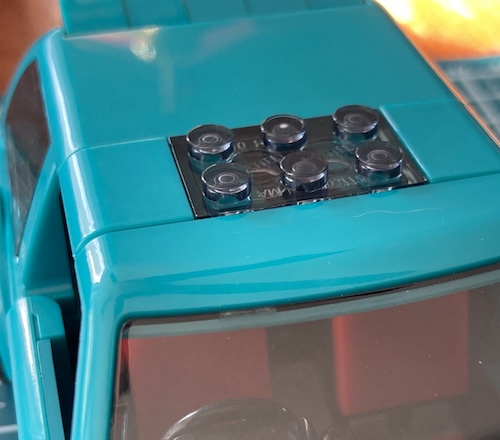
I wish they had given me an opaque body-colour 2x3 block with which to swap out the sunroof; even though the 1:64 variant has a sunroof, everyone knows that real race cars are slicktops.
Personally, I built mine stock, and didn’t put on any of the kanjozoku stickers. I like that this is an option, as Mattel usually goes overboard with stickers. Unfortunately, not installing the windshield banner means you can’t cover up this casting flaw in the (glued in?) windshield.
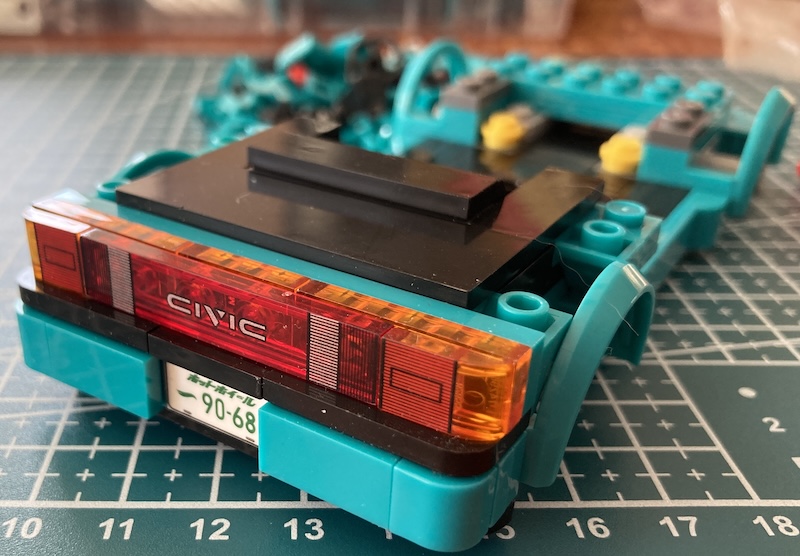
The built kit

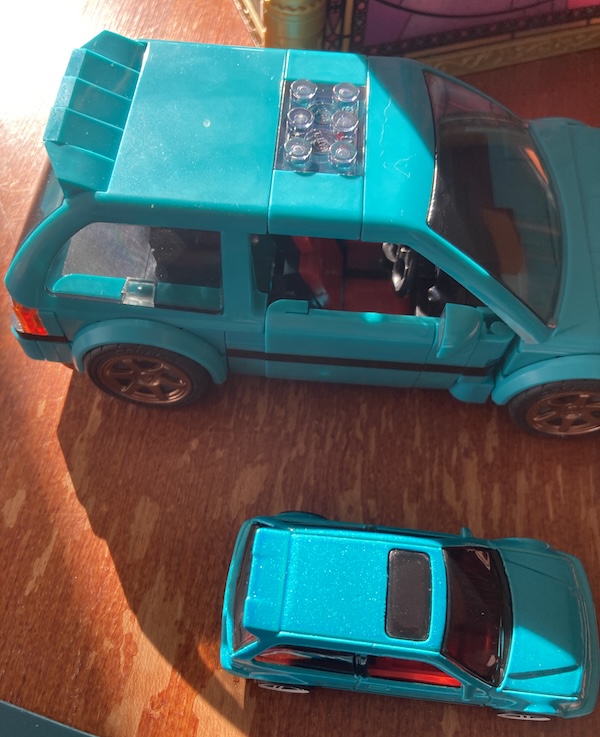
Complaints aside, I really like how this turned out. It was a fun build with straightforward instructions, and the quality is pretty good for a mass-market kit. It’s not quite Lego level, but Lego also isn’t going around making accurate EF Civics.
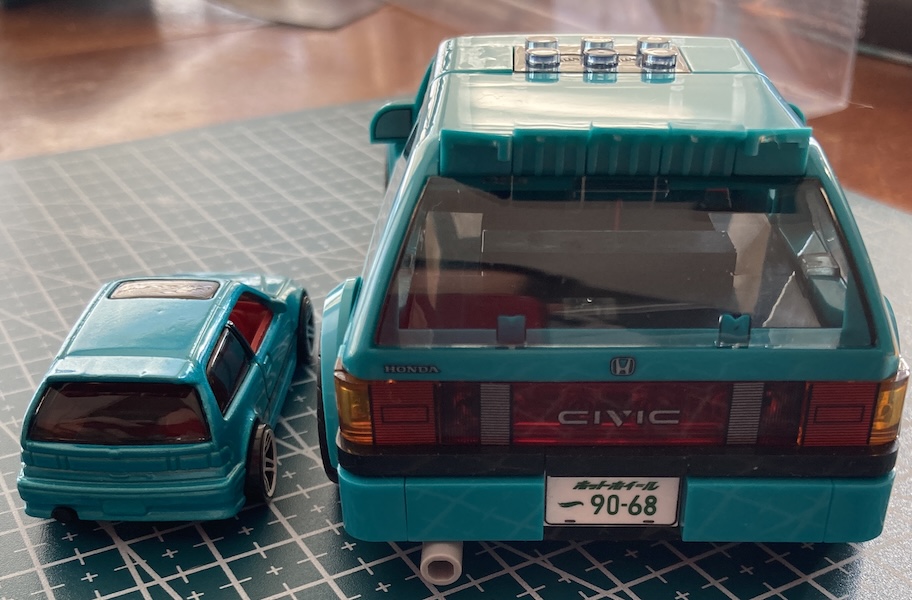
I was going to complain about the spoiler, but you can see by comparing it to the 1:64 model that I have simply mixed up the end pieces. I’ll go fix that right now, and then drag this thing around on my carpet going “broom broom.” See you next time!
-
Costco seems to have these kits for about thirty bucks cheaper from time to time. ↩